Let’s make a…
Matzah Tray
A plethora of Passover paraphernalia, both secular and mundane, clutter our seder tables.
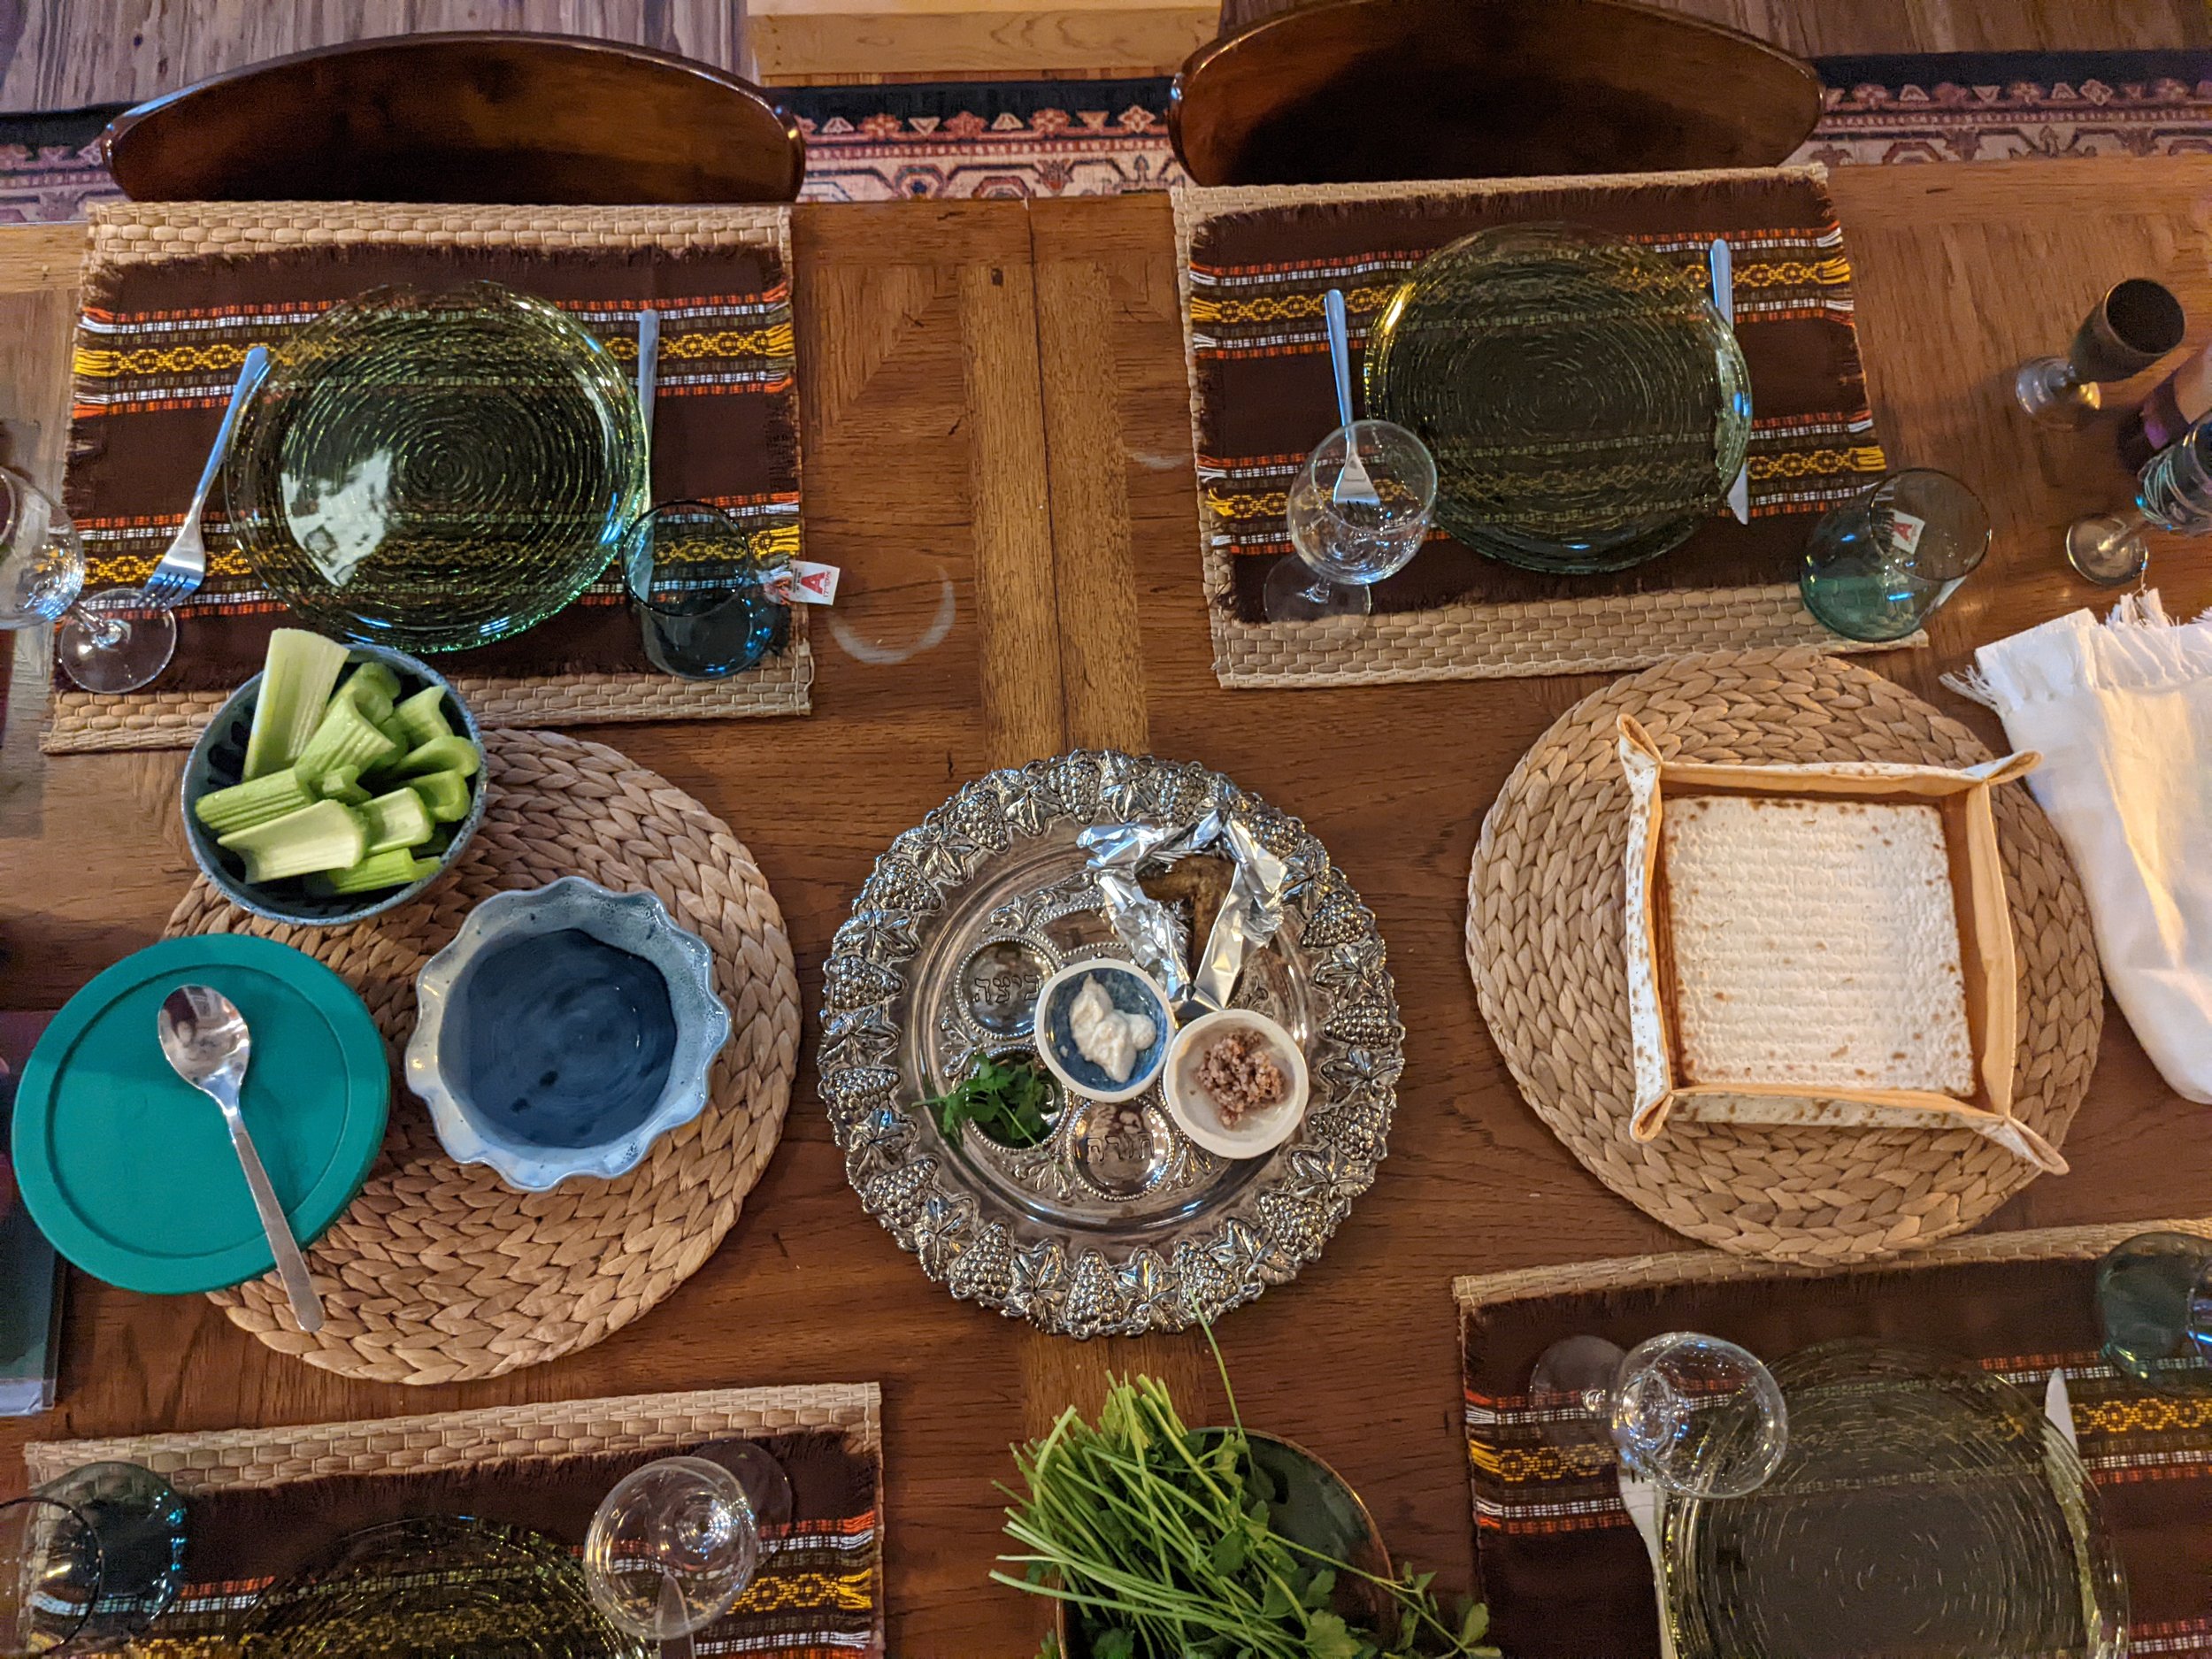
The seder plate gives a distinct home for certain ritual objects but others get strewn about the table...But the Matzah! Where to put the quintessential seder item?
Some seder plates incorporate a spot for the matzah, but most that I’ve seen don’t. Instead, somehow these simple fabric trays have become a seder-table-staple. If you don’t yet have one, and you feel like you’re missing out, you can sew one up in a jiffy.
Each tray takes minimal supplies—in fact it’s a great stash-buster project. If you’ve never sewed before, this is a great starter project to practice some common basic techniques. Though using a sewing machine is preferable, I imagine this project could be completed by hand. It’s also small enough that such a task wouldn’t be too daunting.
what You'll need:
12 inch/30.5 cm square of fabric*
12 inch/30.5 cm square of lining*
12 inch/30.5 cm square of cotton batting
Matching thread**
* Suitable fabrics include laminated cotton, quilting-weight cotton, light-weight decorator fabric, and other light to medium-weight woven fabrics**Or thread that doesn't match. Stand out, don't be afraid to contrast!For my tray, I went super meta.... I used matzah fabric for my matzah tray.
You can use the leftovers to make a pouch for the afikomen, camouflaging it in matzah fabric.
Why stop at just a tray? You could make matzah aprons, matzah oven mitts*, and matzah trivets*.
*Just be sure that you exchange the cotton batting/felt for something that is heat resistant. Don't take shortcuts here, you'll get burned! You can use the same material for the fabric and the lining. In this example, I’m using the matzah cotton print as the main fabric and the yellow cotton as the lining. I had trouble finding cotton batting that was thin enough, so I opted to use felt instead—this will make for a stiffer tray.
Step 4:
Using chalk or other fading/washable marking tool, mark an 8 inch square in the middle of the tray.
You can also trace around a piece of matzah, centered in the square.
Stitch along the marked square to form the base. Use a loose stitch.
Sometimes, this step can cause your work to be a bit misshapen...nothing a little ironing can't fix.
Step 5:
Pinch the corners together, allowing the stitches you just made help the sides to fold up.
Using embroidery or regular thread, make a couple of stitches 1/2 inch in from each corner
You may want use pins or clips to hold the corner together as you sew it. fix.
Step 3:
Now we need to enclose the gap that was left to turn the piece inside out.
You do this by folding the fabric around the gap along the seamline so it folds in and lays flat like the edges that are already sewn. Iron, and take the time to make sure stays nice and flat.
Topstitch around the outside using a 1/8 inch seam allowance. An 'edge foot' on the sewing machine greatly helps with this
Step 2:
Clip the corners* and then turn out the right way through the gap.
Poke out the corners (I like using a chopstick to help me do this) and press (iron).
*Clipping the corners helps them to be more crisp, be careful not to cut your stitches though.
Step 1:
Place the batting (or in this case, felt) down on a flat surface.
Place the fabric square on top with the right side (the side you want showing) facing upwards, then place the lining square on top of that with the wrong side facing upwards.
Make sure all straight edges are aligned and pin together.
Stitch around the outside of the square using a 10mm seam and leave a 4cm gap on one side for turning.
That's it, you did it!
That's it, you did it!
Your very own Fabric Matzah Tray :)
Your very own Fabric Matzah Tray :)
That’s all there is to it. It’s such a simple and quick project you might be tempted to make some for your friends. They’re also great for other chaggim—you could also fill them with small gift items like chocolates and wrap in cellophane for a fun and useful gift item.
Instead of a square, you could follow some of the same instructions with triangles, and make a pretty nifty Mishloach manot for Purim


